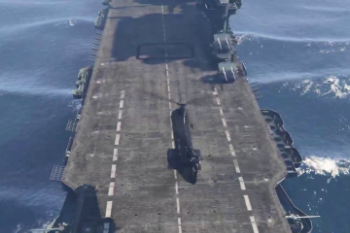
CH-46 Blue Livery 1.0
740
6
740
6
For The GTAV CH-46 (SkylineGTRFreak's Original)
Here https://www.gta5-mods.com/vehicles/ch-46e-seaknight
Once installed with their instructions, open the dlc.rpf with OpenIV
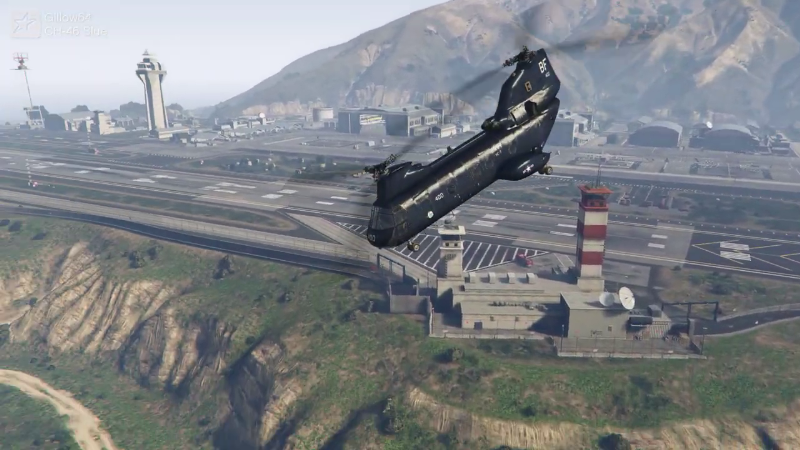
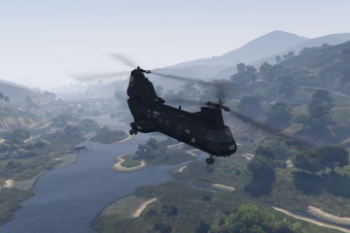
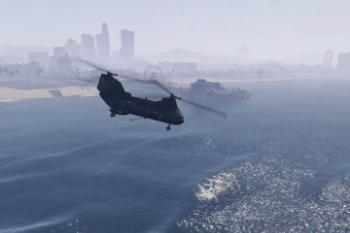
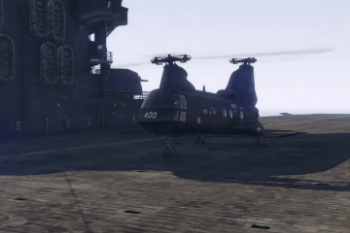
I got lucky, SkylineGTRFreak had the decals as seperate .dds files, so I was able to change the grey to blue pretty easily with a blue layer with a multiply layer mode and with changing the decals. The USN Roundels aren't in an accurate location, but look reasonable.
Follow this path to the file to overwrite:
...GTAV\mods\update\x64\dlcpacks\seaknight\dlc.rpf\x64\levels\gta5\vehicles\vehicles.rpf\
If you wish to retain the original livery, while in OpenIV, extract the file seaknight.ytd. I typically extract the original .ytd to the same folder as the dlc.rpf and rename it to orig_seaknight.ytd.
When ready to overwrite with the CH-46 livery, toggle "Edit mode", top right button, and drag seaknight.ytd from the extracted zip file and drop here:
...GTAV/mods/update/x64/dlcpacks/seaknight/dlc.rpf/x64/levels/gta5/vehicles.rpf/seaknight.ytd
Just to confirm the livery, I'd click on the seaknight.yft or seaknight_hi.yft file to open the OpenIV Model Viewer to see what the model will look like with the new livery.
Once satisfied, close the model viewer and run GTAV and spawn seaknight with the trainer of your choice.
Enjoy,
Gillman
पहले अपलोड: अप्रैल 08, 2023
आखरी अपडेट: अप्रैल 08, 2023
Last Downloaded: 3 दिन पहले
5 टिप्पणियाँ
More mods by Gillman:
For The GTAV CH-46 (SkylineGTRFreak's Original)
Here https://www.gta5-mods.com/vehicles/ch-46e-seaknight
Once installed with their instructions, open the dlc.rpf with OpenIV
I got lucky, SkylineGTRFreak had the decals as seperate .dds files, so I was able to change the grey to blue pretty easily with a blue layer with a multiply layer mode and with changing the decals. The USN Roundels aren't in an accurate location, but look reasonable.
Follow this path to the file to overwrite:
...GTAV\mods\update\x64\dlcpacks\seaknight\dlc.rpf\x64\levels\gta5\vehicles\vehicles.rpf\
If you wish to retain the original livery, while in OpenIV, extract the file seaknight.ytd. I typically extract the original .ytd to the same folder as the dlc.rpf and rename it to orig_seaknight.ytd.
When ready to overwrite with the CH-46 livery, toggle "Edit mode", top right button, and drag seaknight.ytd from the extracted zip file and drop here:
...GTAV/mods/update/x64/dlcpacks/seaknight/dlc.rpf/x64/levels/gta5/vehicles.rpf/seaknight.ytd
Just to confirm the livery, I'd click on the seaknight.yft or seaknight_hi.yft file to open the OpenIV Model Viewer to see what the model will look like with the new livery.
Once satisfied, close the model viewer and run GTAV and spawn seaknight with the trainer of your choice.
Enjoy,
Gillman
Here https://www.gta5-mods.com/vehicles/ch-46e-seaknight
Once installed with their instructions, open the dlc.rpf with OpenIV
I got lucky, SkylineGTRFreak had the decals as seperate .dds files, so I was able to change the grey to blue pretty easily with a blue layer with a multiply layer mode and with changing the decals. The USN Roundels aren't in an accurate location, but look reasonable.
Follow this path to the file to overwrite:
...GTAV\mods\update\x64\dlcpacks\seaknight\dlc.rpf\x64\levels\gta5\vehicles\vehicles.rpf\
If you wish to retain the original livery, while in OpenIV, extract the file seaknight.ytd. I typically extract the original .ytd to the same folder as the dlc.rpf and rename it to orig_seaknight.ytd.
When ready to overwrite with the CH-46 livery, toggle "Edit mode", top right button, and drag seaknight.ytd from the extracted zip file and drop here:
...GTAV/mods/update/x64/dlcpacks/seaknight/dlc.rpf/x64/levels/gta5/vehicles.rpf/seaknight.ytd
Just to confirm the livery, I'd click on the seaknight.yft or seaknight_hi.yft file to open the OpenIV Model Viewer to see what the model will look like with the new livery.
Once satisfied, close the model viewer and run GTAV and spawn seaknight with the trainer of your choice.
Enjoy,
Gillman
पहले अपलोड: अप्रैल 08, 2023
आखरी अपडेट: अप्रैल 08, 2023
Last Downloaded: 3 दिन पहले


 5mods on Discord
This file has been approved automatically. If you think this file should not be here for any reason please report it.
Thanks A million! I really appreciate this.
@oldtimergamer6351 You're very welcome. @SkylineGTRFreak does all the real work, I just draw pretty pictures.
@oldtimergamer6351 BTW, glad to see you posted a video. I, too, used Cayo to represent both South East Asia and Cuba for videos. The bayou mod is pretty good for low altitude jungle passes or taking a Kurtz through the channels, if you're in an Apocalypse Now mood.
@Gillman Good to know, Thanks!