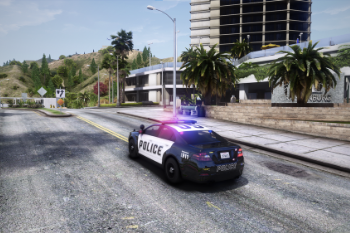
Maderon's ReShade Preset (NVE/QuantV/Vanilla) 1.0
1,123
6
1,123
6
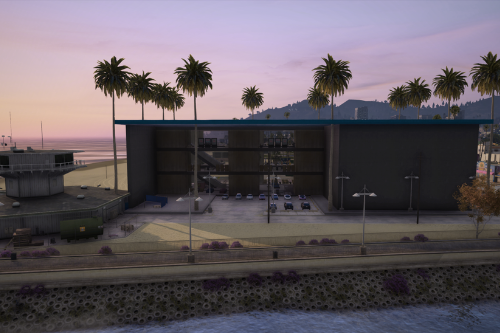
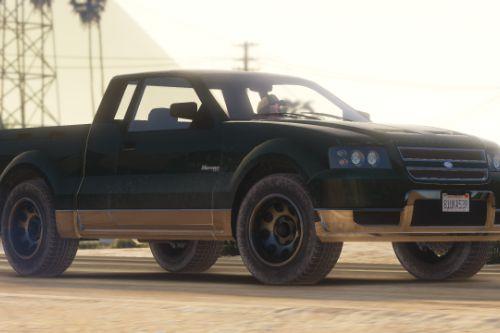
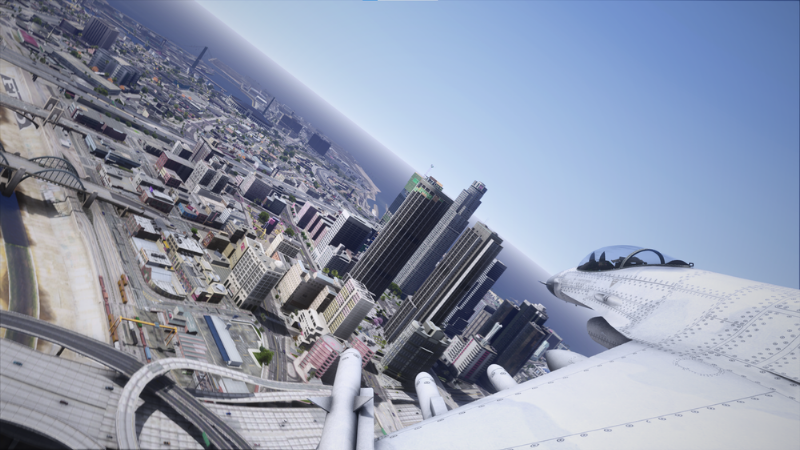
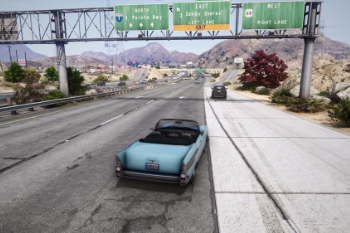
- DISCLAMER - This photos weren't taken only with reshade
- REQUIRED - Install reshade latest:reshade.me
Tag me in the comments and ask a question if you need help or ask something.
-------------------------------------------------------------------------------------------------------------------------
This is the first and best preset I have made, since 2nd April. when you install Reshade and open the game it may slow the game a litte due to the files in it. If your lagging to hard download some FPS pack boost, and it may help.
-------------------------------------------------------------------------------------------------------------------------
To install the preset, you need to:
1- Have reshade installed. If you don't already have it, download the install on the website "https://reshade.me/". In the setup menu, install it to your "GTA5.exe" or GTA directory folder. Skip the install on all packages/shaders in the setup menu and select the option "Direct X 10/11/12" as this is what GTA runs on. Now reshade is installed!
2- Drag and drop the "reshade-shaders" folder I included into your GTA 5 directory. This is required to prevent weird glitches and messed up settings
3- Now, place the ".ini" file in your GTA 5 directory.
4- Once in-game, open up reshade by pressing "Home" on your keyboard. Skip or go through the tutorial. Then click the blue bar at the top that says "Reshade Preset" and select the maderon.
- REQUIRED - Install reshade latest:
Tag me in the comments and ask a question if you need help or ask something.
-------------------------------------------------------------------------------------------------------------------------
This is the first and best preset I have made, since 2nd April. when you install Reshade and open the game it may slow the game a litte due to the files in it. If your lagging to hard download some FPS pack boost, and it may help.
-------------------------------------------------------------------------------------------------------------------------
To install the preset, you need to:
1- Have reshade installed. If you don't already have it, download the install on the website "https://reshade.me/". In the setup menu, install it to your "GTA5.exe" or GTA directory folder. Skip the install on all packages/shaders in the setup menu and select the option "Direct X 10/11/12" as this is what GTA runs on. Now reshade is installed!
2- Drag and drop the "reshade-shaders" folder I included into your GTA 5 directory. This is required to prevent weird glitches and messed up settings
3- Now, place the ".ini" file in your GTA 5 directory.
4- Once in-game, open up reshade by pressing "Home" on your keyboard. Skip or go through the tutorial. Then click the blue bar at the top that says "Reshade Preset" and select the maderon.
पहले अपलोड: अप्रैल 14, 2024
आखरी अपडेट: अप्रैल 16, 2024
Last Downloaded: 1 दिन पहले
4 टिप्पणियाँ
More mods by loneeps:
- DISCLAMER - This photos weren't taken only with reshade
- REQUIRED - Install reshade latest:reshade.me
Tag me in the comments and ask a question if you need help or ask something.
-------------------------------------------------------------------------------------------------------------------------
This is the first and best preset I have made, since 2nd April. when you install Reshade and open the game it may slow the game a litte due to the files in it. If your lagging to hard download some FPS pack boost, and it may help.
-------------------------------------------------------------------------------------------------------------------------
To install the preset, you need to:
1- Have reshade installed. If you don't already have it, download the install on the website "https://reshade.me/". In the setup menu, install it to your "GTA5.exe" or GTA directory folder. Skip the install on all packages/shaders in the setup menu and select the option "Direct X 10/11/12" as this is what GTA runs on. Now reshade is installed!
2- Drag and drop the "reshade-shaders" folder I included into your GTA 5 directory. This is required to prevent weird glitches and messed up settings
3- Now, place the ".ini" file in your GTA 5 directory.
4- Once in-game, open up reshade by pressing "Home" on your keyboard. Skip or go through the tutorial. Then click the blue bar at the top that says "Reshade Preset" and select the maderon.
- REQUIRED - Install reshade latest:
Tag me in the comments and ask a question if you need help or ask something.
-------------------------------------------------------------------------------------------------------------------------
This is the first and best preset I have made, since 2nd April. when you install Reshade and open the game it may slow the game a litte due to the files in it. If your lagging to hard download some FPS pack boost, and it may help.
-------------------------------------------------------------------------------------------------------------------------
To install the preset, you need to:
1- Have reshade installed. If you don't already have it, download the install on the website "https://reshade.me/". In the setup menu, install it to your "GTA5.exe" or GTA directory folder. Skip the install on all packages/shaders in the setup menu and select the option "Direct X 10/11/12" as this is what GTA runs on. Now reshade is installed!
2- Drag and drop the "reshade-shaders" folder I included into your GTA 5 directory. This is required to prevent weird glitches and messed up settings
3- Now, place the ".ini" file in your GTA 5 directory.
4- Once in-game, open up reshade by pressing "Home" on your keyboard. Skip or go through the tutorial. Then click the blue bar at the top that says "Reshade Preset" and select the maderon.
पहले अपलोड: अप्रैल 14, 2024
आखरी अपडेट: अप्रैल 16, 2024
Last Downloaded: 1 दिन पहले

![Car Loading Screen [4K] Car Loading Screen [4K]](https://img.gta5-mods.com/q75-w500-h333-cfill/images/car-loading-screen-4k/86bf9b-GTA5.jpg)
 5mods on Discord
Looks nice.
@loneeps What ".ini" file do you mean? If it's the one I should download from this page, it gave me the file with some other name.
@loneeps It gave me a RAR file instead
@Tikupoiss Extract the RAR file and when you install reshade there will be a button top open "Home" click on it, And then select the .ini file